Everyone loves that smooth, movie-like drone shot where the camera glides effortlessly across a landscape. But getting that look is not just about owning a great drone. It’s about knowing how to set it up the right way.
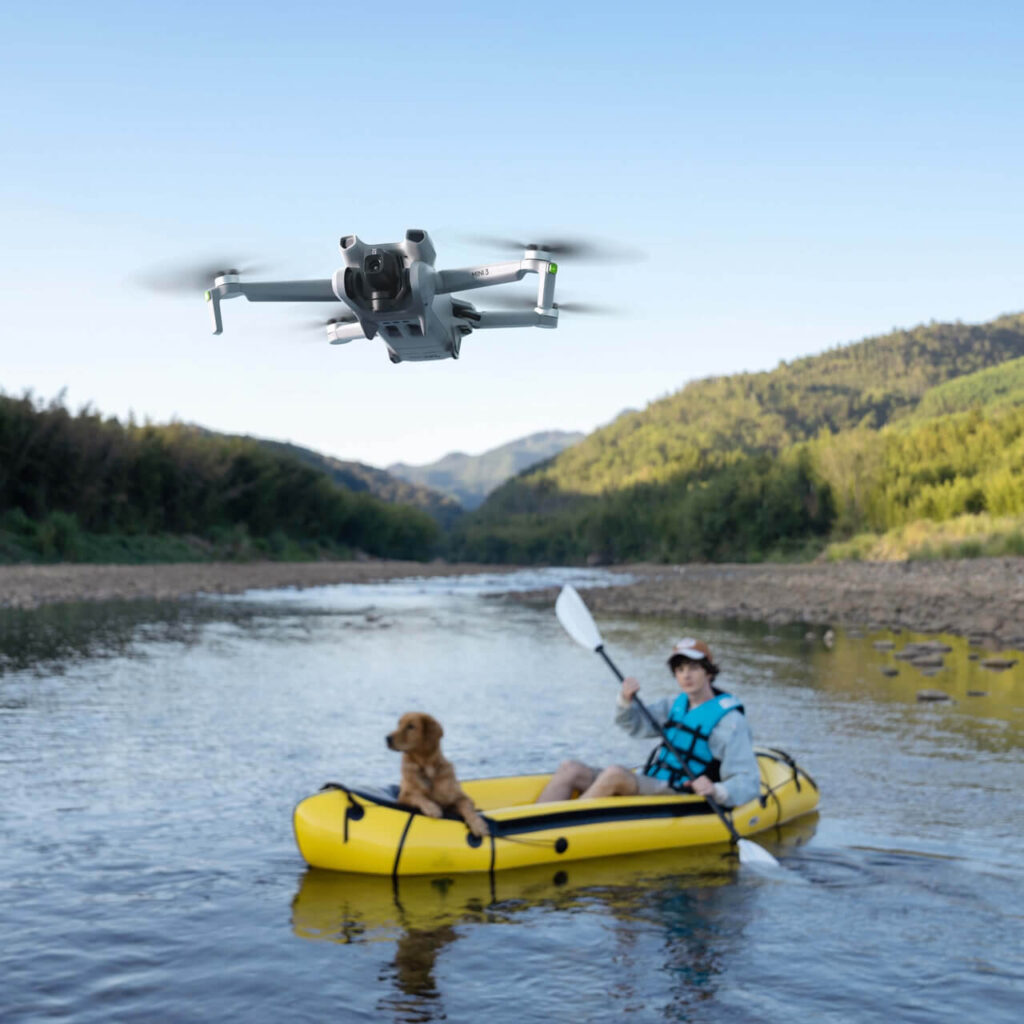
If you’re flying a DJI drone, you’re already halfway there. DJI models like the Mini 4 Pro, Air 3, and Mavic 3 come loaded with advanced camera systems that are built for cinematic capture. The real difference comes from using the right settings and understanding how to fly with purpose.
Whether you’re filming your travel adventures, short films, or vlogs, dialing in the correct DJI drone cinematic settings can instantly take your footage from average to stunning.
This guide will walk you through:
- The ideal video settings for cinematic footage
- Tips to get that signature smooth motion
- Recommended shooting styles for different scenes
Let’s get your DJI drone ready to shoot like it’s part of a professional film crew.
Essential Video Settings for Cinematic DJI Drone Footage
The first step to getting cinematic drone footage is setting up your camera right. DJI drones give you a lot of control, especially models like the Mini 4 Pro and Air 3. You don’t need to be a pro filmmaker just understand the basics.
Here’s what you should focus on:
1. Set Frame Rate and Resolution
For that smooth, movie-like motion, switch your drone’s camera to shoot in 24 or 25 fps. If you want slow-motion shots, bump it up to 60 fps and slow it down while editing.
Most DJI drones allow 4K resolution, and if your drone supports 10-bit color, enable it. It captures more details in shadows and highlights.
If you’re confused between two popular models—DJI Mini 3 vs. Mini 4 Pro—and wondering which one’s better for cinematic quality, the Mini 4 Pro edges ahead with 4K/100fps and better dynamic range. We’ve broken down that comparison in detail if you’re still deciding.
2. Use Manual Camera Settings
Auto mode is tempting, but manual gives you control. Set:
- Shutter speed to double your frame rate (e.g., 1/50 for 25 fps)
- ISO as low as possible to reduce noise
- White balance fixed (not auto) to maintain color consistency
Using ND filters is a must on bright days. They reduce the amount of light entering the lens, so you can keep the shutter speed low and avoid that sharp, non-cinematic look.
3. Turn Off Overprocessing
Turn off features like HDR, auto sharpness, and excessive contrast settings if available. These might make your video look flashy but less natural. Cinematic footage should be soft, smooth, and color-correctable in post.
If you’ve bought a drone recently and aren’t sure if it’s refurbished, don’t worry. You can check the DJI app or serial number status. Here’s a guide on how to verify if your drone is not refurbished before relying on it for serious shoots.
Flight Tips to Make Your Drone Shots Cinematic
Settings are just half the story. The way you fly your drone matters just as much when creating cinematic visuals.
1. Slow, Controlled Movement
Use tripod or cine mode if your drone offers it. These settings limit how fast your drone moves, giving you smoother shots.
Try moves like:
- Pull backs (drone moving away from subject)
- Push-ins (toward a person or building)
- Orbit shots around landmarks
- Reveals behind trees, rocks, or walls
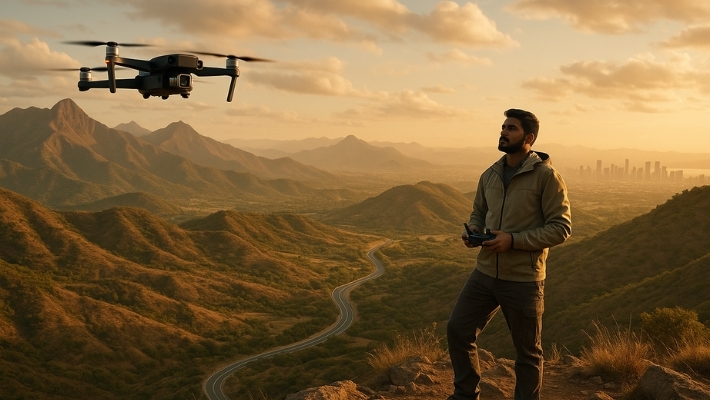
If you’re vlogging your solo adventure, only a drone can show the scale of your journey. It creates that feeling of space and solitude that handheld cameras just can’t deliver.
2. Use Terrain and Light
Golden hour is your best friend. Capture scenes early in the morning or before sunset. Shadows get longer, colors become warmer, and everything looks more cinematic.
Whether you’re filming in Ladakh, Goa, or the Ghats, drones let you capture India from the Himalayas to the sea like no other device.
Recommended Shooting Styles by Use Case
Not every creator uses drones the same way. Here’s how to adapt your setup depending on your goals.
For Travel and Vlogs
- Use a DJI Fly More Combo for extended flying time. It includes extra batteries, a charging hub, and propellers—helpful when you’re shooting on the go.
- Enable subject tracking to get those walking or biking shots without a second person.
- Keep gimbal mode in follow or FPV based on the vibe you want.
If you’re still not sure whether the DJI Fly More Combo is worth it in 2025, we’ve unpacked that with a cost-benefit analysis to help you decide.
For Filmmaking and Cinematic Projects
- Stick with DCinelike or D-Log color profiles. They look dull at first but give you more flexibility in color grading.
- Use the manual gimbal tilt for controlled vertical movements.
- Learn to fly with both sticks slowly to achieve curved, cinematic paths.
And if you’re worried about crashing, don’t stress. DJI’s safety features like obstacle sensors, return-to-home, and airspace alerts can save you from major mishaps.
What Else Matters for a Cinematic Drone Setup?
Stability and Practice
Even with perfect settings, shaky hands or last-minute adjustments can ruin your shot. Spend time practicing smooth flying in open spaces before heading to shoot in crowded or sensitive areas.
If you’re a content creator just starting out, remember buying a drone isn’t enough. You’ll need practice, planning, and editing skills to really stand out.
Also, before any commercial or public flying, make sure you understand whether you need a drone license in India. Rules are different based on drone category and use case, and flying without permission can cost you.
Key Camera Settings for Cinematic DJI Drone Footage
If you want those smooth, movie-like visuals from your DJI drone, it starts with the right settings. Let’s break down the essentials.
1. Frame Rate and Resolution
Set your drone camera to shoot in 24fps if you’re going for a classic cinematic feel. This is the same frame rate used in most films and helps create that natural motion blur. For crisp quality, 4K resolution is the standard. Most DJI drones, especially models like the DJI Mini 4 Pro and Air 3, support 4K 24fps easily.
Want more flexibility in post-editing or smoother slow-motion footage? Switch to 60fps or even 120fps if your drone supports it. Just remember that higher frame rates take more storage.
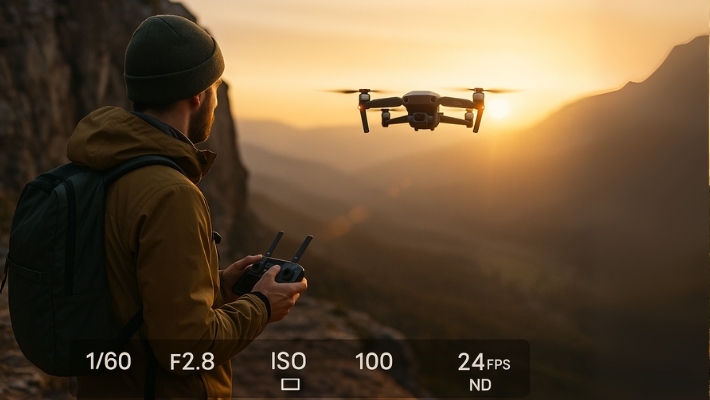
2. Shutter Speed: The 180-Degree Rule
Stick to the 180-degree shutter rule. It says your shutter speed should be double your frame rate. So, if you’re shooting at 24fps, use a shutter speed of 1/50 sec. This ensures natural motion blur.
But bright daylight can make this tricky. That’s where ND filters come in. DJI’s ND filter kits help you keep the shutter speed low without overexposing your footage. This is one area where beginners struggle.
If you’re just starting out and are unsure about accessories, check our guide: What Is the DJI Fly More Combo? Is It Worth It in 2025?
3. ISO Settings
Keep your ISO as low as possible. A lower ISO reduces noise and keeps your footage sharp. DJI drones perform well in low light, but pushing ISO above 400 can still add grain. Try shooting during golden hour for softer light and minimal post-processing.
4. Color Profile: D-Cinelike or D-Log
For full control during editing, use a flat color profile like D-Cinelike or D-Log. These profiles capture more detail in shadows and highlights. While your footage might look dull straight from the SD card, you’ll have room to add your unique style later.
DJI Mini 3 vs Mini 4 Pro users often ask if both support advanced profiles. The Mini 4 Pro has D-Log M support, while the Mini 3 supports D-Cinelike, which is great for creators on a tighter budget.
5. White Balance
Set your white balance manually. Auto mode can shift colors mid-shot. Use Kelvin values to lock in consistent tones. For example:
- Golden hour: 5200–5800K
- Cloudy weather: 6000–6500K
Keeping white balance fixed makes your color grading workflow much smoother.
Flying Styles That Add Cinematic Magic
Even with the perfect camera settings, your drone footage won’t look cinematic unless your flying is smooth and intentional. The way you move your drone tells the story. Here’s how to get it right.
1. Use Gentle, Slow Movements
Cinematic shots are all about fluid motion. Avoid jerky turns or sudden elevation changes. Practice slow, steady pushes on the control sticks. Think of your drone like a camera on a dolly—keep it graceful.
2. Try the Classic Reveal Shot
Start low behind an object like a rock, tree, or structure. Then slowly rise to unveil a landscape or subject. This kind of movement builds suspense and keeps viewers watching longer.
It’s simple, but it works beautifully, especially in scenic places like Ladakh or the Western Ghats.
3. Combine Yaw and Forward Motion
Move forward while slowly rotating the drone’s yaw axis. This creates a parallax effect where the foreground and background move at different speeds. It’s a favorite trick of travel YouTubers and filmmakers.
If you’re deciding between drone models that handle these movements well, read: DJI Mini 3 vs. Mini 4 Pro—Which Combo Is Right for You?
4. Use Waypoints and Tracking Modes
Drones like the DJI Air 3 or Autel EVO Lite+ come with intelligent flight modes. Waypoint flying lets you program smooth paths in advance. ActiveTrack and Spotlight keep your subject framed perfectly even as you fly.
These tools free up your hands and allow more creative camera movement. They’re especially useful for solo creators shooting vlogs or B-rolls on their own.
5. Avoid Sudden Stops or Turns
Fast stops or changes in direction can ruin otherwise beautiful footage. Always plan your shot before takeoff. Rehearse the path, check the wind, and keep your finger light on the controls.
You’ll be surprised how much better your footage looks when the drone behaves like a camera not a toy.
Edit, Accessorize, and Elevate Your Drone Footage
Once you’ve captured that smooth, cinematic drone footage, the magic really comes alive in post-production. But to make your shots stand out, it also helps to use the right accessories and know your gear.
1. Edit With Purpose
Use editing software like DaVinci Resolve, Adobe Premiere Pro, or CapCut to enhance your video. Simple edits can go a long way:
- Adjust contrast and brightness to make landscapes pop
- Add gentle background music to match the mood
- Use speed ramps to create energy in action shots
- Apply color grading to give your footage a consistent cinematic tone
Many creators worry if they’re even ready to edit professionally. If you’re wondering whether owning a drone is enough to start your creator journey, read: Is Buying a Drone Enough to Start My Journey as a Content Creator?
2. ND Filters Are Your Secret Weapon
Neutral Density (ND) filters help maintain motion blur by limiting light, letting you shoot at slower shutter speeds even during bright daylight. Think of them as sunglasses for your drone camera.
This is especially useful when filming water, sky, or vehicles in motion. Filters help your footage look smooth and professional rather than sharp and jittery.
3. Gimbals and Stability
Most DJI and Autel drones already come with excellent 3-axis gimbals, but always double-check your gimbal calibration before a shoot. It ensures your footage stays level and shake-free.
If you’ve bought a drone recently and are unsure if it’s new or refurbished, check this article: Bought a Drone Recently? Here’s How to Verify If It’s Not Refurbished.
4. Protect Your Investment with the Right Combo
When buying a drone, consider options like the DJI Fly More Combo, which offers extra batteries, propellers, a charging hub, and carrying case. These accessories not only save you money but also extend your flight time and shooting potential.
5. Pick the Right Drone from the Start
Not every drone is built the same. Some prioritize portability, others focus on camera quality, and some come packed with pro features for automation and safety. For beginners, the DJI Mini 4 Pro remains a top pick because it’s light, safe, and feature-rich.
If it’s your first time flying, this drone makes it easy to fall in love with aerial filming. Check out: Buying a Drone for the First Time? The DJI Mini 4 Pro Makes It Easy to Fall in Love with Flying.
6. Stay Legal, Stay Confident
Before your next shoot, brush up on drone laws in India. Knowing where, when, and how to fly not only keeps you legal but also helps you fly with more confidence.
Want to know if you need a license or not? This blog breaks it down: Can I Fly My Drone Freely or Do I Need a License? Understand the Rules
Also, if you’re buying a camera drone, don’t forget to check this detailed guide before you commit: Buying a Camera UAV in 2025? Read This Before You Regret Your Purchase
Final Thoughts
Cinematic drone footage doesn’t require expensive gear or film school skills. What it does need is a bit of planning, smooth flying, and thoughtful editing. The sky is your canvas—whether you’re vlogging, capturing landscapes, or building your content career.
Take it slow, keep it steady, and never stop exploring. If you’re still unsure about which drone suits your needs, check out our deep-dive comparison: DJI Mini 3 vs. Mini 4 Pro—Which Combo Is Right for You?
And once you’re ready to shoot, remember: every flight is a chance to tell a new story.